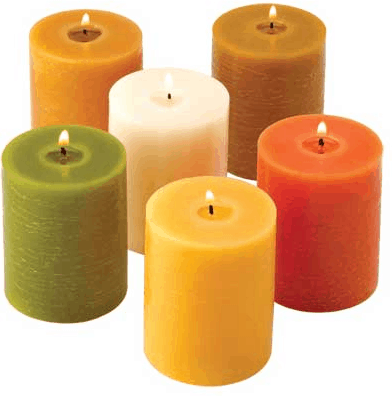
All Saint’s Day is fast approaching and what a very timely small business idea to have, than candle making? I say this business could prove to be one of the best one as the materials in making them does not cost so much and also, if there are too many leftovers of them, they can be melted and made into new candles once again. The most popular wax to use in candle making is paraffin wax. This is a colourless and soft solid that is derived from petroleum or oil and is the most commonly used in candle making. One great idea by the way, is to use your old candles, they can be melted down and form into new candles. Do not worry if they are of different colours, it is kind of artistic having a lot of colours mixed up in one candle really. Just one reminder though, whenever you do this process, always ensure to keep your surroundings safe and never do this with children watching.
Here are the simple step by step procedures on how to make candles:
Materials Needed:
- Paraffin wax
- Scented oil
- Coloring (oil based)
- Candle molds (tin, old glasses or cups, or anything that could withstand heat)
- Wicks (braided cotton)
- 1 large pot
- 1 smaller pot
- Candy Thermometer
- Prepare your work area; cover the table you are working on with a rag or layers of newspaper so as not to damage your table in case of any dripping. Melted wax is very hot and could cause scalding, be reminded of that.
- Gather your paraffin wax and shred them into smaller pieces to make the melting process faster.
- Prepare 2 pots for melting the wax. This process is done using double boiler method as wax cannot be melted directly on heat. Since wax is hard to clean, you may use an old pot that you never would again use for cooking food.
- Fill the larger pot with water half way and place the smaller pot on top of it. Place your shaved wax in the smaller pot and place the pots on top of a stove on high heat until the water boils.
- Check the temperature of the melting wax by using a candy thermometer; it should be at 140°F.
- At this point, you can now add your chosen scent of oil, make sure you do not add so much. Just a few drops will do.
- Oil based coloring can be added as well while the wax is being melted.
- Now, get your candle mold and place the wicks at the center.
- Pour the melted and colored wax carefully into your candle molds, ensuring that the wick is still in the center.
- Place your candles somewhere safe and let them cool to set for about a day. The longer the better, and the harder your candles will get.
You may now remove the candles from the molds and pack them as preferred.
Tips:
1. You can make batches of candles according to colors.
2. Color layered candles can be made by doing the first color preferred, pouring the melted wax onto the molds halfway or a third of the mold, let it cool down first before pouring the 2nd layer of color or 3rd depending on your preferences.
3. Glass jars make for pretty scented and colored candles.

I am a content writer who is goal-oriented and passionate in what I do. I use my hard outer shell to guard me against deception and betrayal. The moment I start, I rarely look back. I strive hard to live up to the high expectations that others expect from me.


